Modeling & 3d printing tryout & technical progress - Week 10 & Week 11
Locked Down the display title on the device
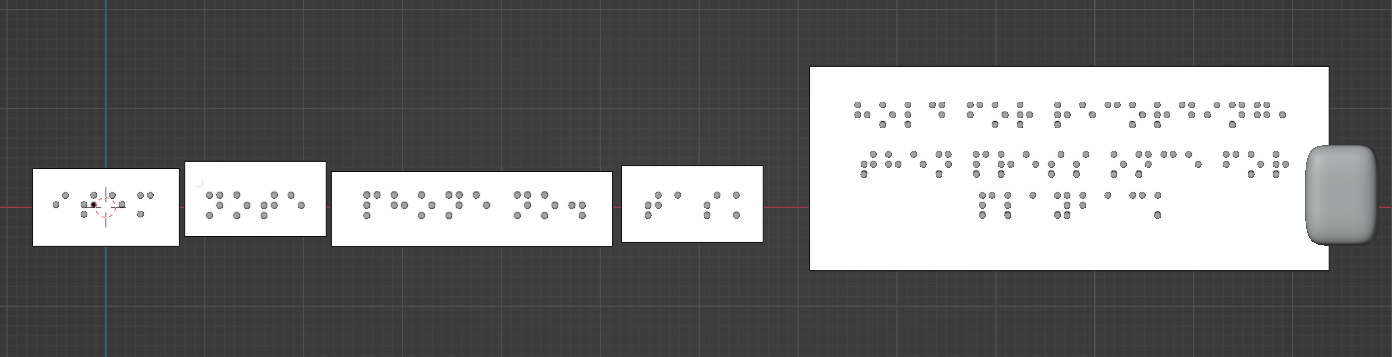
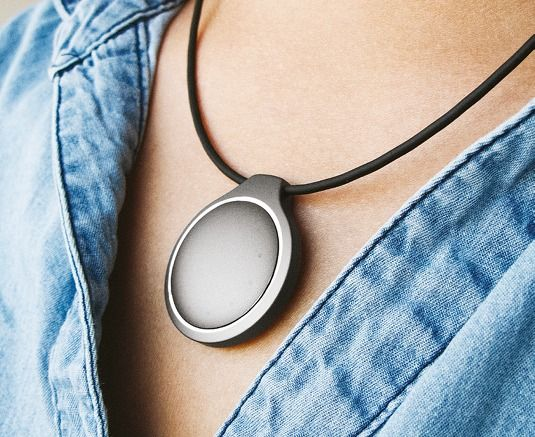
During the study week, I plan to spend time locking down the display title on the device and model out the appearance of the device. Below is a showcase of the Braille font display on the wearable device.
Item
Item
Task
Task
Note
Phone
No.
Phone no.
Hold for recording,
Hold
for recording,
Then press once for playback
Modeling device
I then import the text as an image reference and model it out in Blender. The title arrangement was according to the previous interviewer's response which allocate the most important title in the first place and sequence arranging.

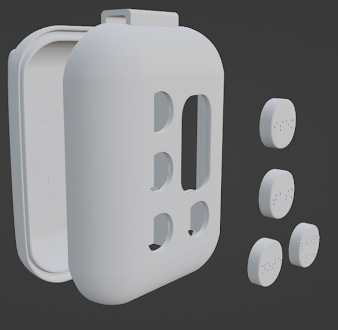


The surface of the device is flat to make the user easy to read the braille.

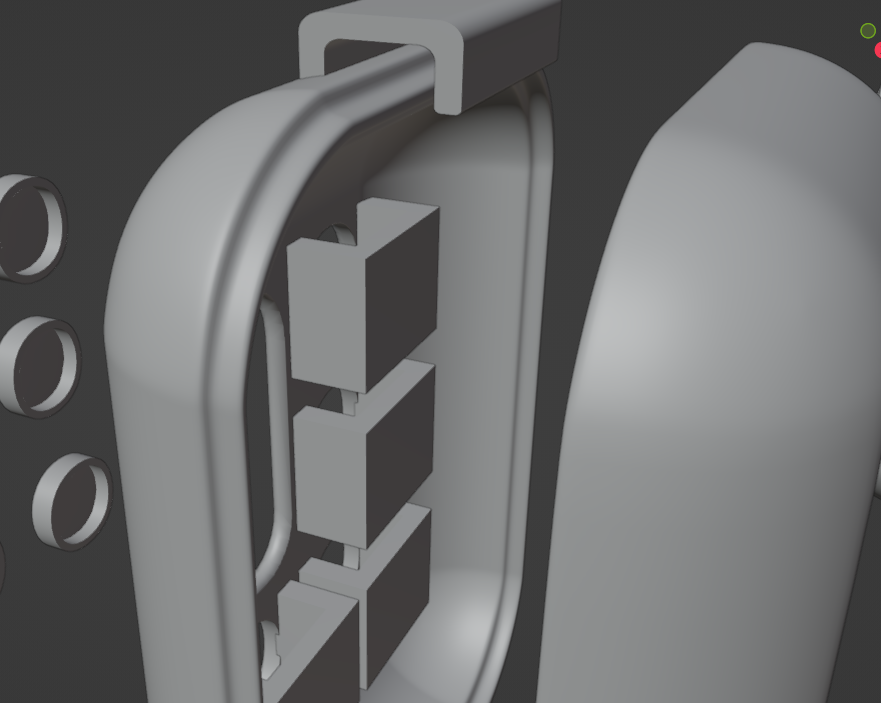

holder for holding the string

Modify the device
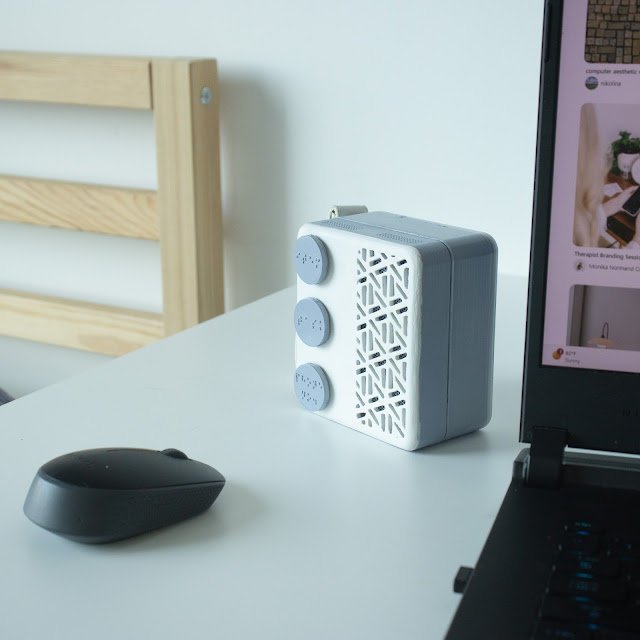
To keep the project smaller scale, I removed the meeting note button and just focused on three buttons. And scale up the size of the speaker. The reason I remove the button is that meeting notes usually required a long time to record.


Design Thinking for the device

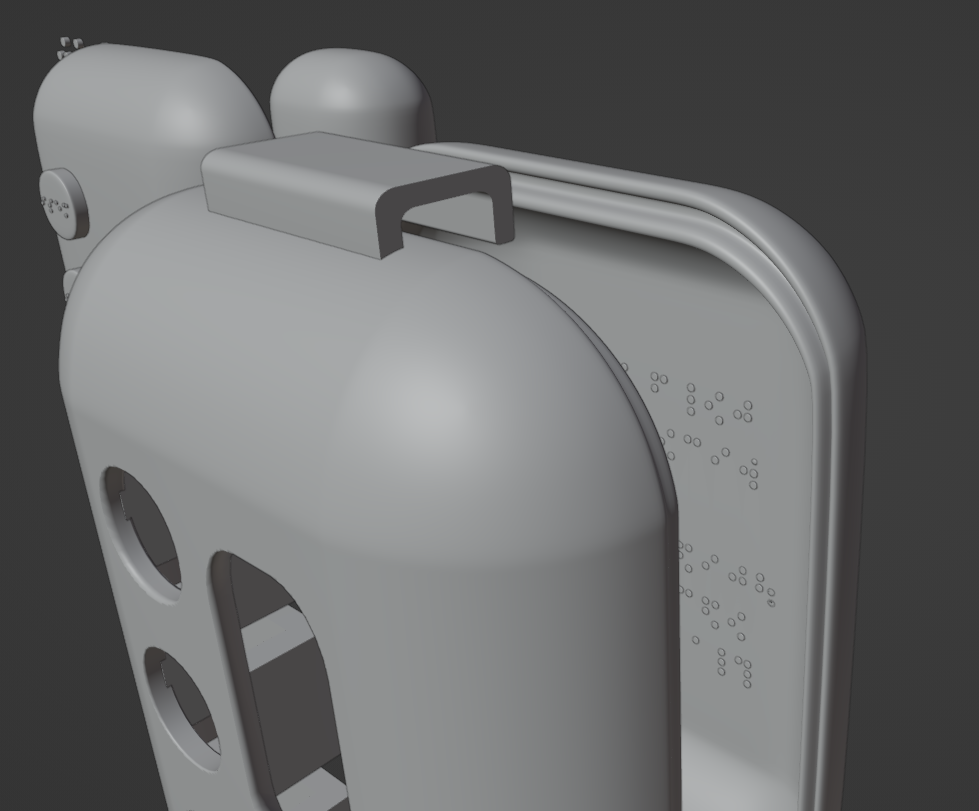
Buttons placement - consideration of users typing on their phone with this gesture, Fingers point toward themself. Therefore, I design buttons face in front.
Button's placement on the right side - consideration of most users is right-handed. Instruction on the back side of the device - consideration of leaving a wide space for the user to navigate the instruction so they won't get confused between braille buttons and braille instruction.
Design of the device - In my case, I go for a rectangular shape because it is more easier for me to model it out and put Arduino inside.
User Testing Scenario
In the user testing, I explained the scenario to her and asked her to simulate how she will respond to the recording device, such as the way she try to explore the item by touching it, and the way she recorded and playback the audio. I also ask her preference of volume for playback.
3d test printing
I try to print out the model that I have, but it failed to print multiple times of trying. I guess is the machine's problem. I will try out another 3d printer after that.


Playback for SD card
I change the SD card file size to a smaller file size because the SD card adapter cannot adapt to a higher GB of size which has explained why I keep failing in previous weeks.
The files of the SD card in this video are imported from the computer.
Playback the files from the SD card. The action is to make sure the SD card is workable and can play files by retrieving files from the SD card and then playback the file.
In the current state of being unable to record and playback, my tutor told me that I bought the wrong voltage for the amplifier which cause the amplifier damage and unable to output the sound. Therefore, I need to rebuy the battery for it.
Along the way, I still can try the code without an amplifier just the sound effect is not that good. But once it works with recording and playback, I can then add on with an amplifier.
Type specific keyCode to record and playback
The key codes are specified in the Arduino Code with different key codes that have different functions. So when I type a specific key code and send it to Arduino, it will run the particular function.
The action also indicates the circuit is workable with the recording file, stores it in the SD card, and playback the file retrieve from it.


A button hold for recording and press one time to playback
After making sure can be recorded, I then insert the record and playback code into the button. Fortunately, it can work, like the video I show, it can work with a hold button for record and press one time to playback.
The file can be overwritten after I hold the button again to start the record.
As the video shows, the playback audio is not that loud and has a lot of noise, because the amplifier did not apply to it. Once it applies, I suspect it will work well.


Multiple buttons hold for recording and press one time to playback
After making sure the button can be inserted into the recording and playback state, I then import it into the rest of the buttons. Fortunately, the results were fine and able to record and playback!
Louder the audio sound
I try to higher up the volume of the playback audio.
Help me to know the current trend of the wearable device
Darma, S. (2012). BrailleTouch: Touchscreen Typing App for the Visually Impaired |. [online] Medgadget. Available at: https://www.medgadget.com/2012/02/brailletouch-touchscreen-typing-app-for-the-visually-impaired.html [Accessed 22 Feb. 2023].
Help me to know more about blind people


Comments
Post a Comment